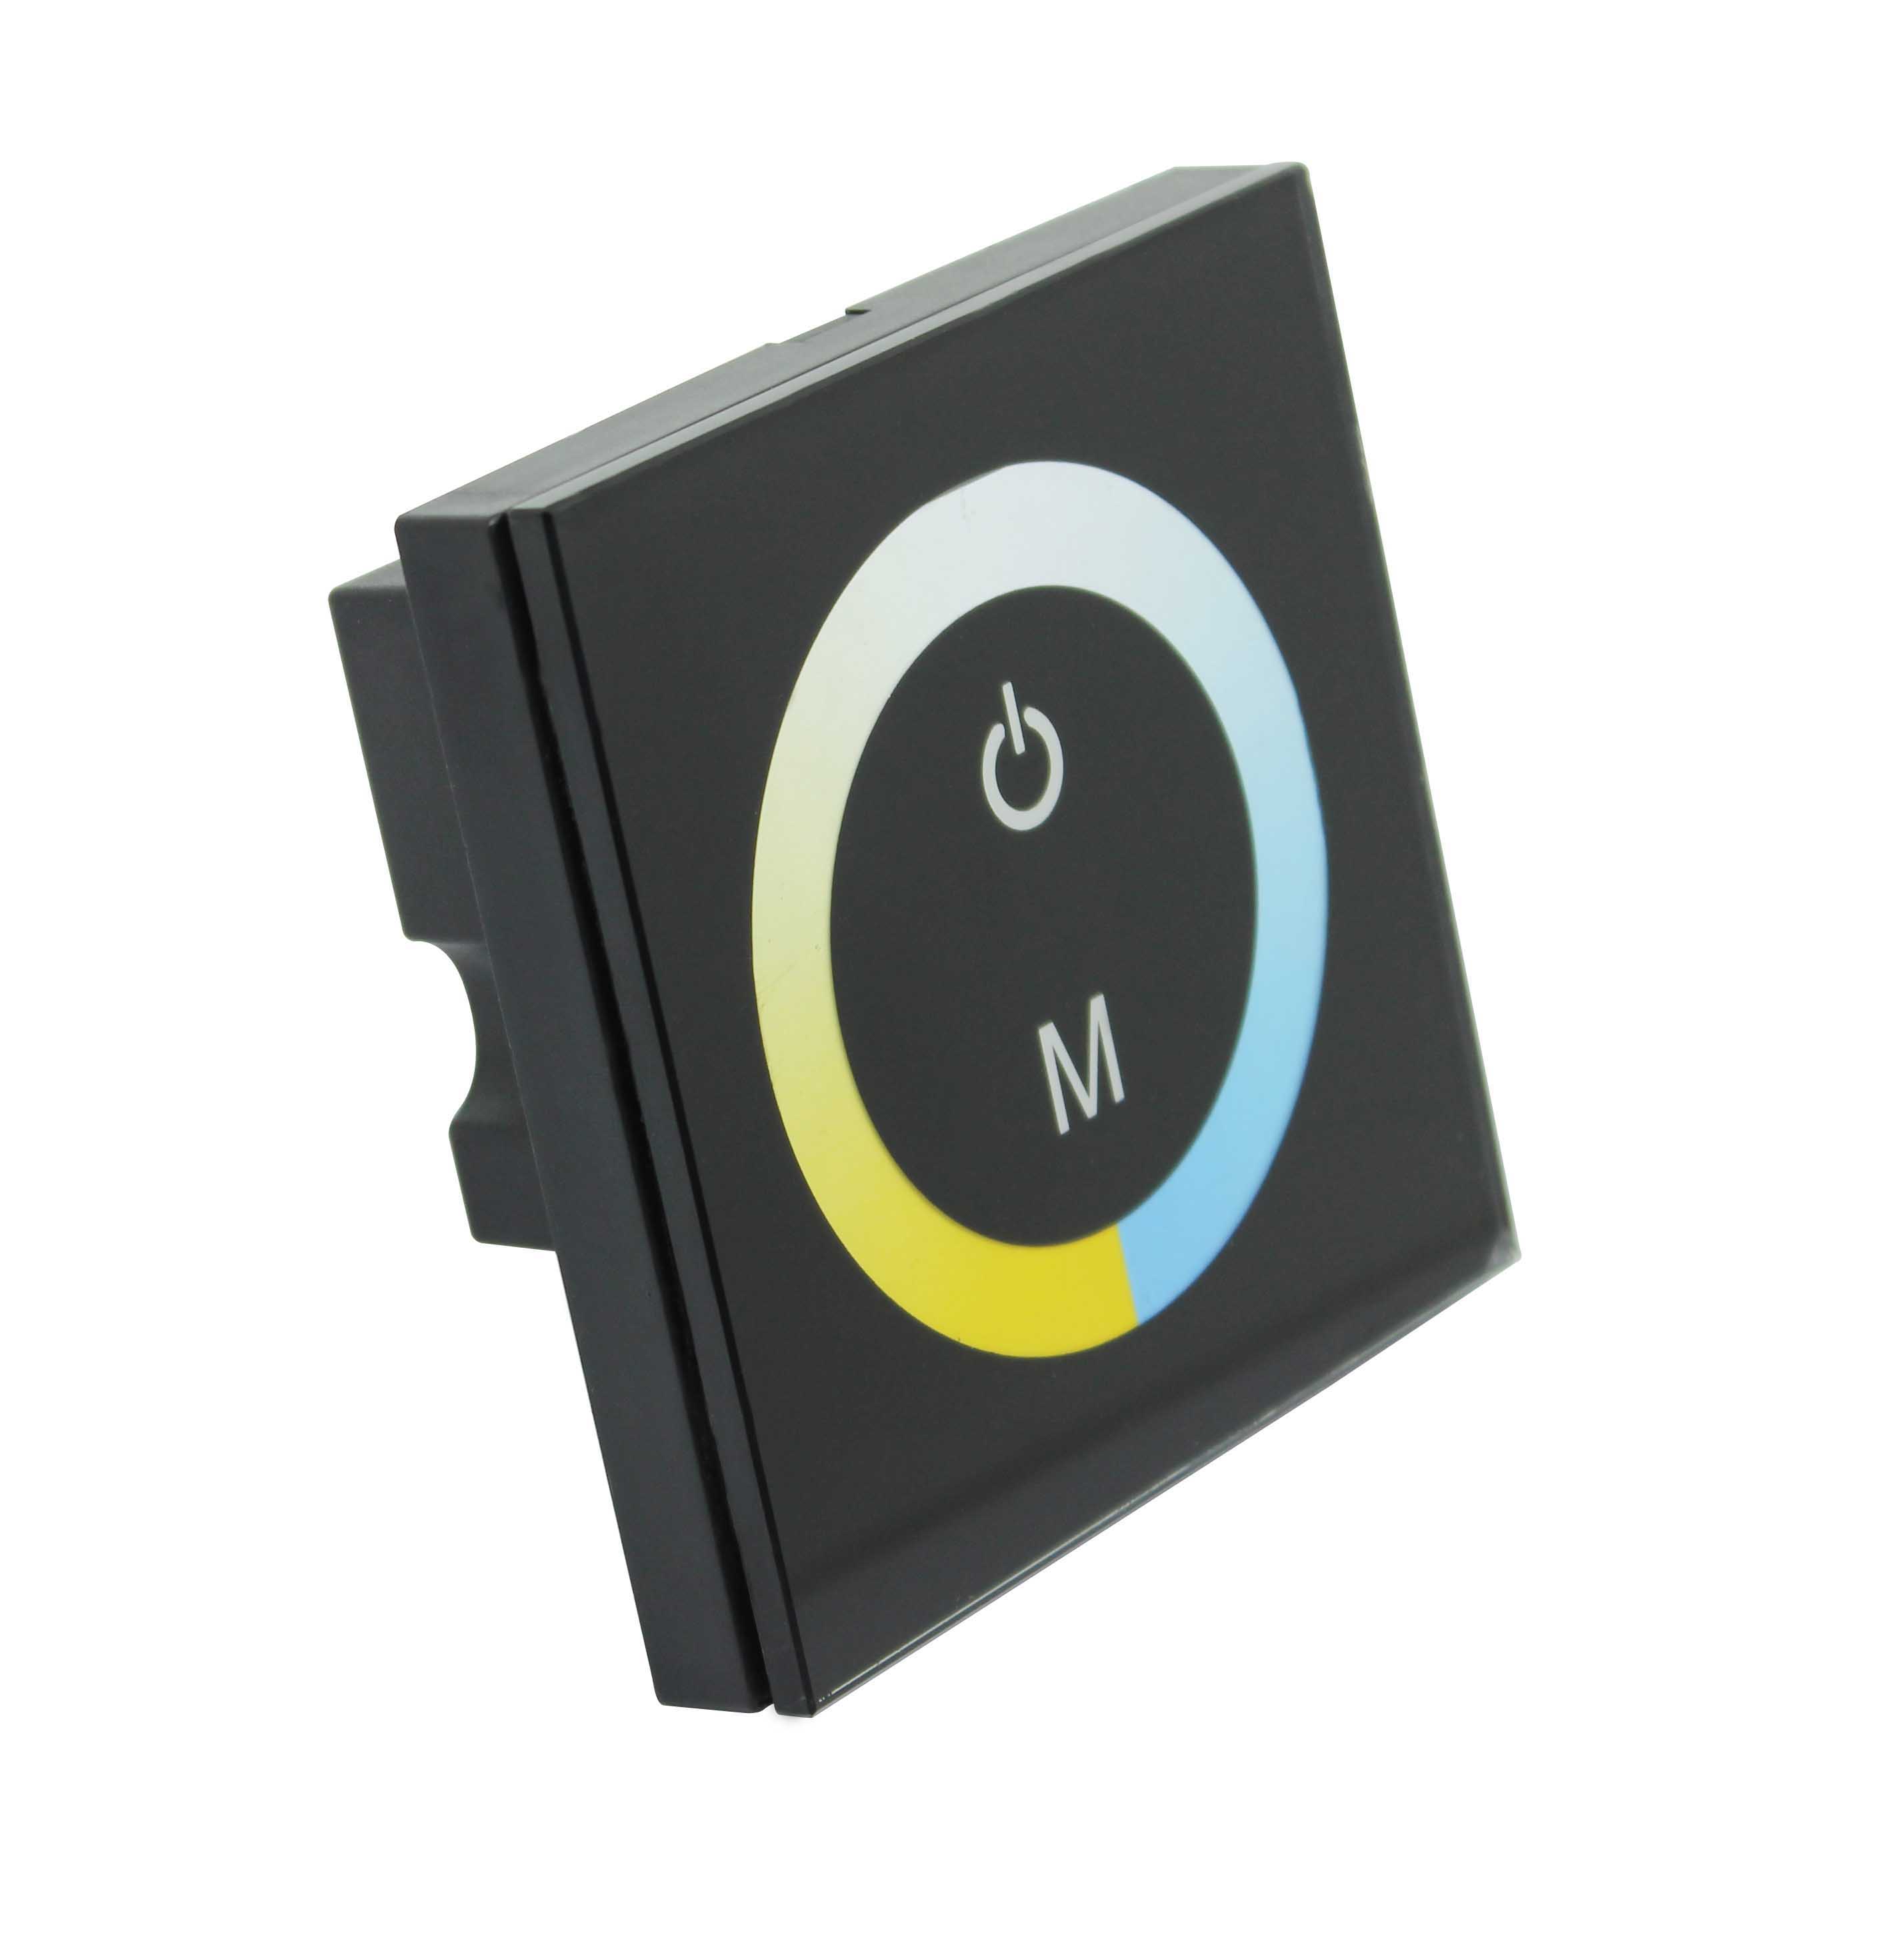
Touch Panel Color Temperature Controller
| Place of Origin | China |
|---|---|
| Brand Name | Okled |
| Model Number | TM07 |
| Inquiry | |
Detailed Product Description
Product Specifications
NAME: Touch Panel Color Temperature Controller
MODEL: TM07

Summarization
Touch panel controller is a new high-end controller which newly developed by our company. It adopts glass panel design, is beautiful and fashionable in appearance. It adopts high precision capacitance touch control chip, increases the touch sensitivity, reduces trigger which caused by mistake. It is used for controlling a variety of lamp whose source of light is LED. For instance, point source of light,flexible light strip, wall washer lamp, glass curtain wall light etc., it has many advantages such as convenient to connect, easy to use and others. It can carry out cold, warm, white light and other effects of lighting change.
Technical Parameters
Working temperature: -20-60 °C
Supply voltage: DC12~24V
Output: 2 channels
Connection mode: common anode
External dimension: L86 Χ W86 Χ H36mm
Packing size: L115 Χ W110 Χ H56 mm
Net weight: 130g
Gross weight: 187g
Static power consumption: <1W
Output current: <4A(each channel)
Output power: 12V<96W, 24V<192W
External Dimension
 Unit: mm
Interface Specifications

Controller Instruction:
1.Touch panel there are 2 buttons and a pulley key, the functions are as follows:

2. standard change is shown in the below table:
|
Mode No. |
Function |
Remark |
|
1 |
Cold White |
|
|
2 |
Cold White +20% warm white |
|
|
3 |
Cold White +40% warm white |
|
|
4 |
Cold White +60% warm white |
|
|
5 |
Cold White +80% warm white |
|
|
6 |
White |
|
|
7 |
warm white +80% Cold White |
|
|
8 |
warm white +60% Cold White |
|
|
9 |
warm white +40% Cold White |
|
|
10 |
warm white +20% Cold White |
|
|
11 |
warm white |
Typical Application

Installation Method
(1) gently pry gaps in touch panel with a screwdriver, and then you can slowly remove the panel, as shown below;


(2) remove the cable. Pull the locking of the terminal transposon, and then you can slowly remove the cable, as shown below:


(3).Fix the base of controller in the 86×86 installation box (customers need to buy the installation box by themselves) on the wall with screws.

(4) use your hand gently pull down the cable seat lock according to step 2, plug the cable into cable seat, press the lock, and mount the cable of panel on the base, as shown below:

(5) installation is completed, as shown below:

Remarks:
1. Connect the load wire at first, following by the power wire; Please ensure short circuit can not occur between connecting wire before you turn on the power;
2. The supply voltage of controller ranges in DC12V~DC24V, it may burn out the controller once exceed the voltage ranges.
